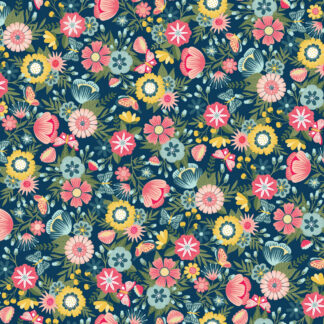
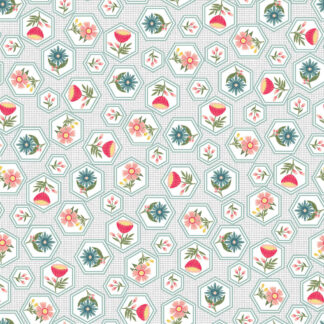
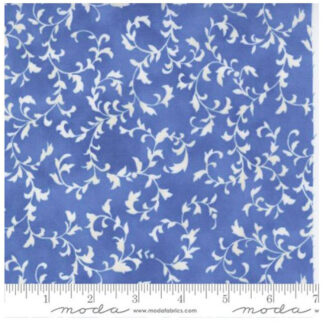
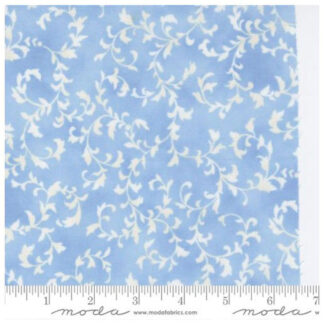
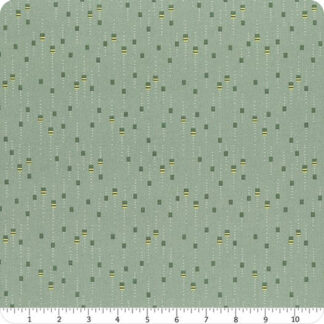
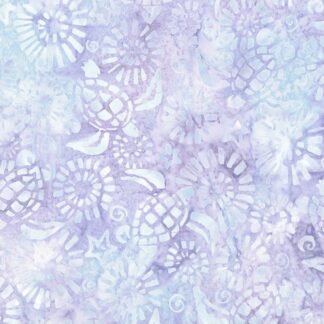
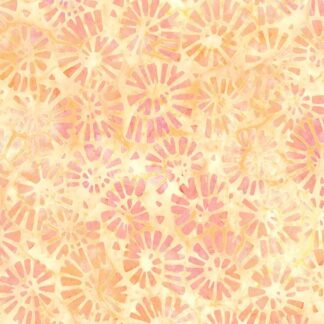
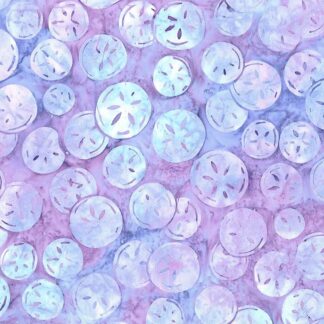
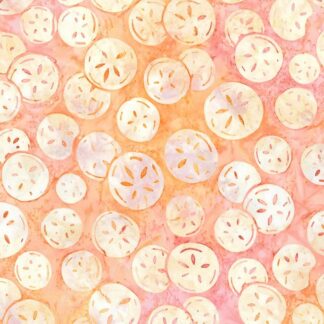
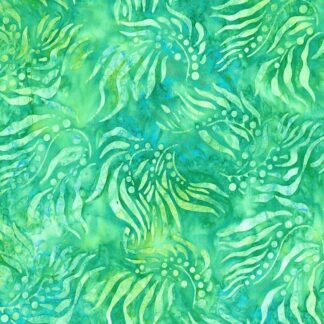
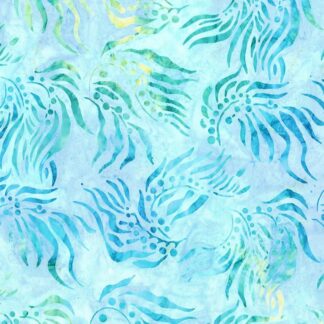
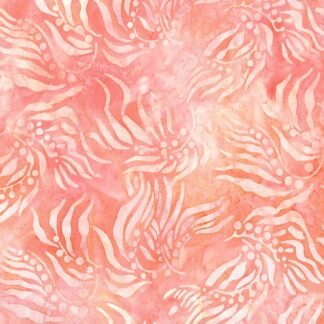
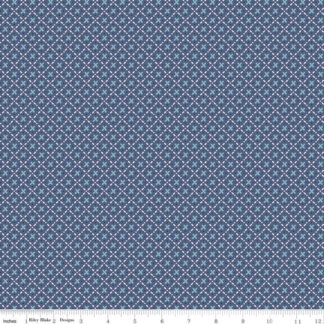
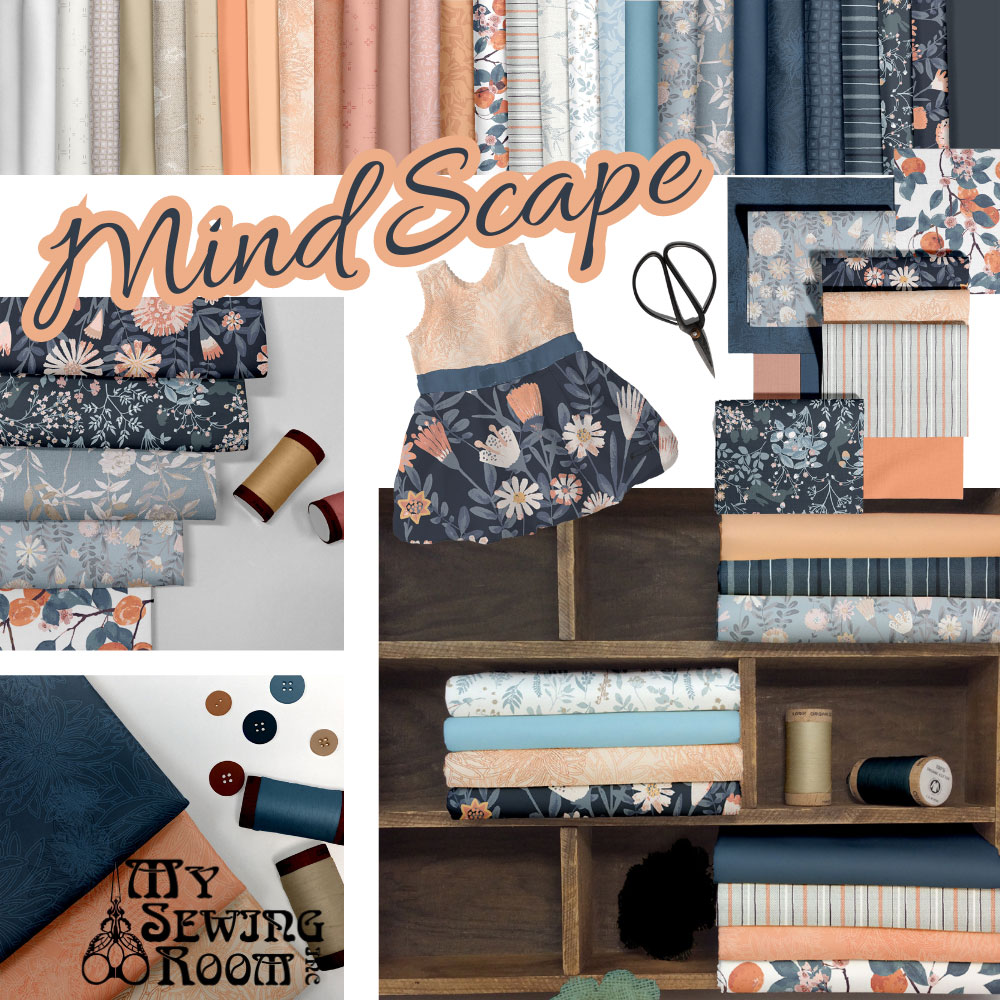
Listen to the sound of the waves and feel the sand beneath your toes as you escape the everyday with Mindscape. Get swept away by a seascape of textural prints in shades of slate blue, parchment, apricot and tawny tan. Inspired by Katarina’s treasured memories of days spent along the coast and heartfelt family traditions.
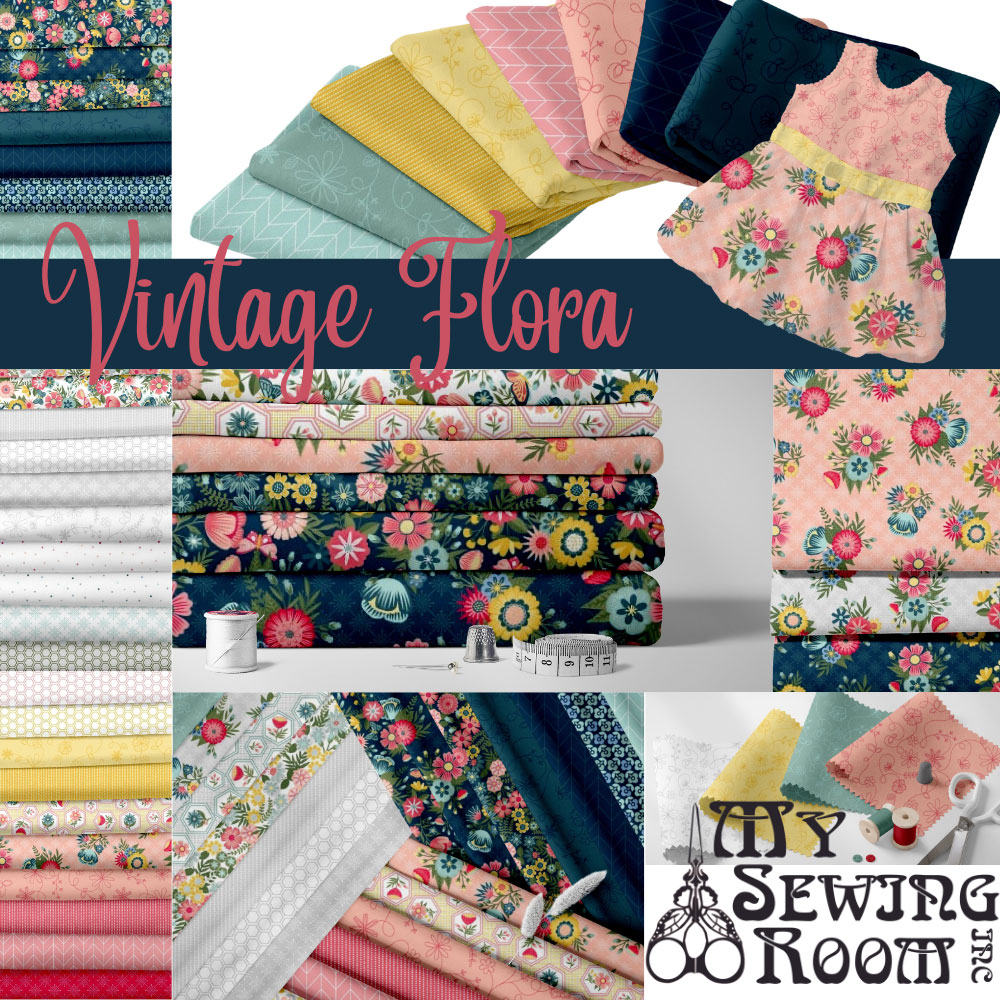
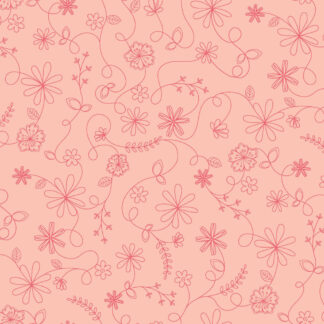
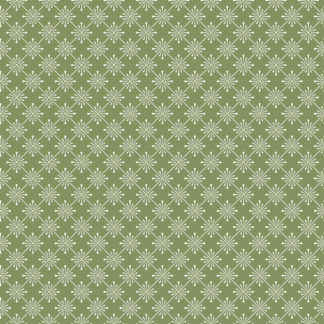
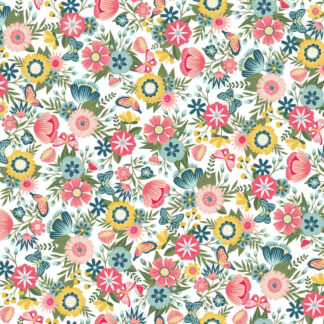
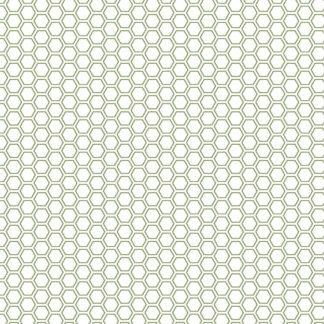
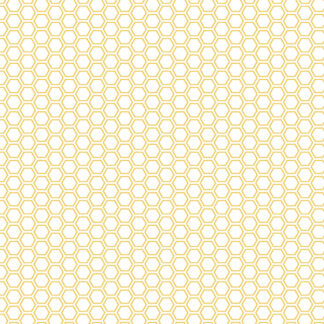
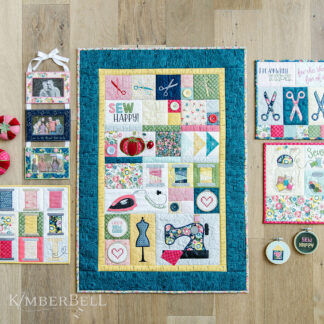
100% Cotton. Delightful prints, sweet enough for the bees, are always in bloom in Vintage Flora by Kimberbell®. You won’t be able to resist adding these cheerful prints to your Kimberbell® stash! Charming honeycombs, tiny dots, lively swirls, delicate chevrons, and vintage blossoms are sure to become long-lasting favorites.
Love the collection but can’t decide which fabric to choose. Try the fabric bundle, all fabrics in the collection in a fat quarter cut each
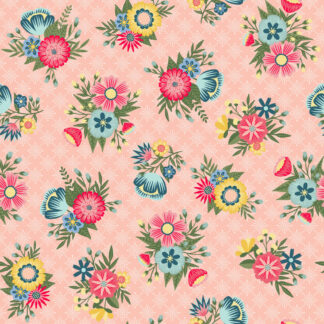
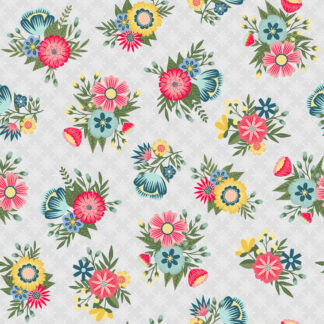
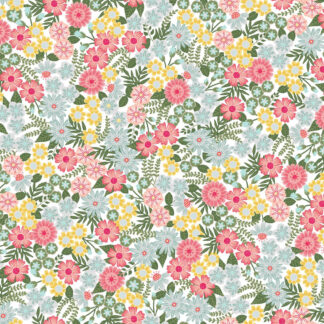
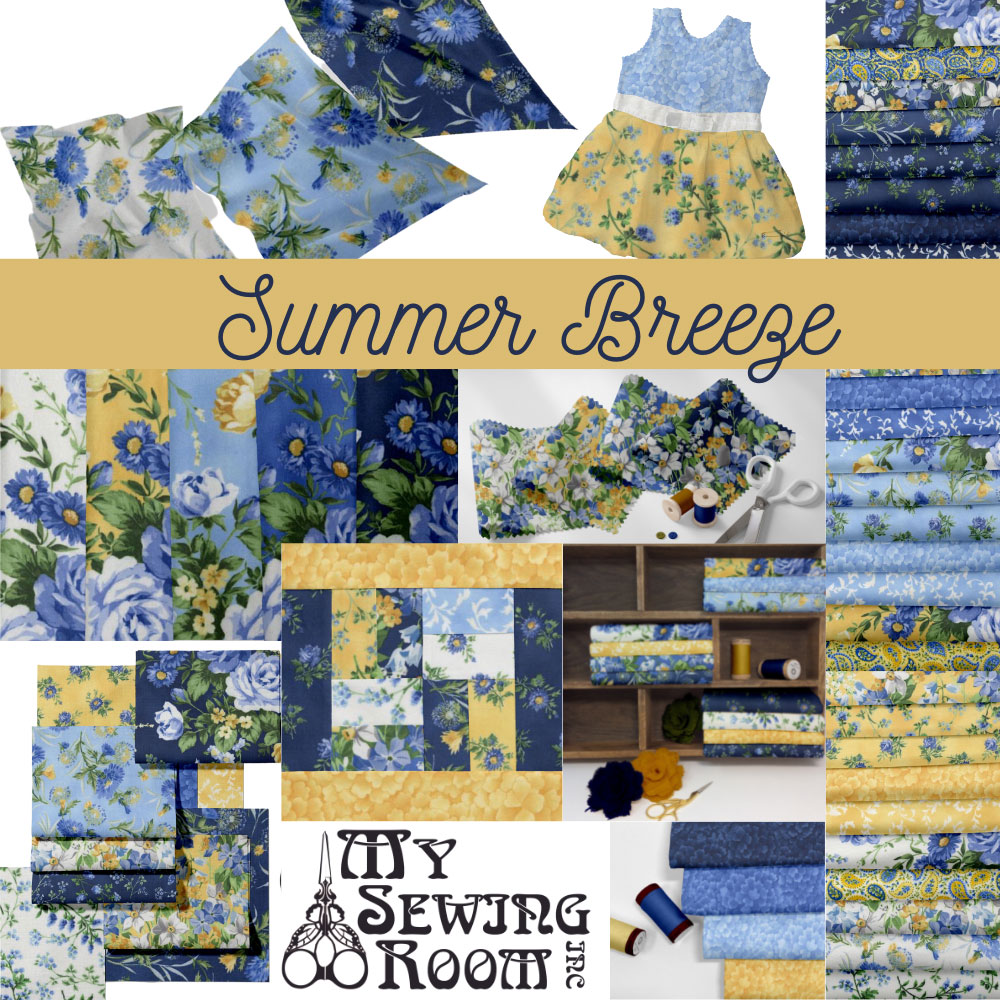
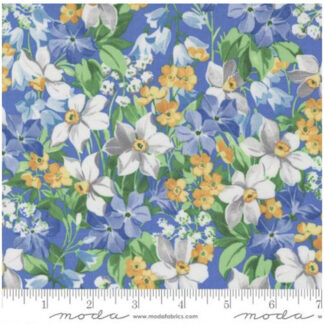
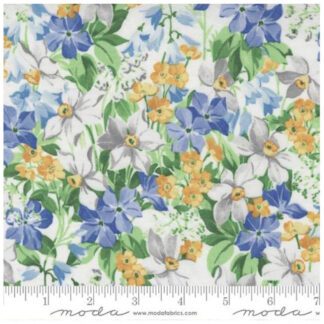
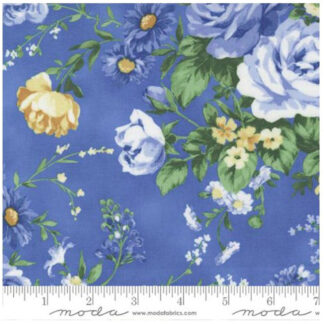
The pleasures of summer are here! Whether you are swinging in a hammock under your favorite shade tree or sipping sweet tea and catching the cool breezes of a summer’s evening on your screened porch. Look for Summer Breeze 2023 florals and prints in soft blues, yellows, golds and cream. Use this collection of fresh summer colors to create a light quilt or throw for summer evenings in your hammock or on your porch.
To find the class material, videos, notes or anything else you may need for a class you purchased you need to go to the “Class Page” and be authorized to view the page. To find your class page you can follow the steps below.
Desktop Instructions
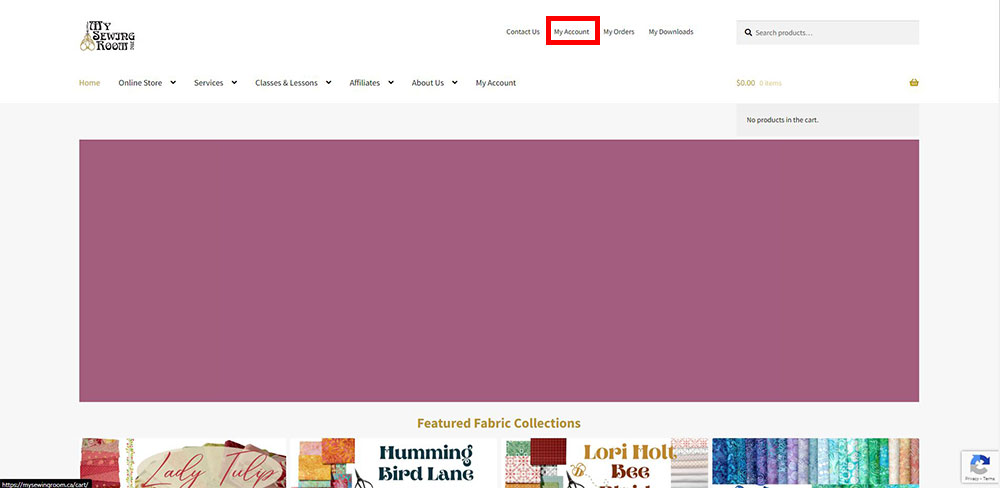
First off you want to go to our website. On any of our pages at the top you can see a few links which will lead you to various locations related to your own account. To find your class pages lets click on the My Account button outlined in red.
This will take you to the login screen for your account if you are not signed in and your account dashboard if you are signed in. If you have not signed in do it now in the outlined fields. If you do not have an online account with us, you can create one using the register area. This will not automatically authorize you for your classes so send an email to info@mysewingroom.ca asking to have your classes authorized to your account and we will take it from there.
After you have signed in you will be taken to the My Account dashboard. While in your dashboard you can see a section to the left detailing the classes you are currently authorized for doubling as a handy button you can press to take you to the class page. Click one of the buttons and you will be redirected to the class page you clicked on.
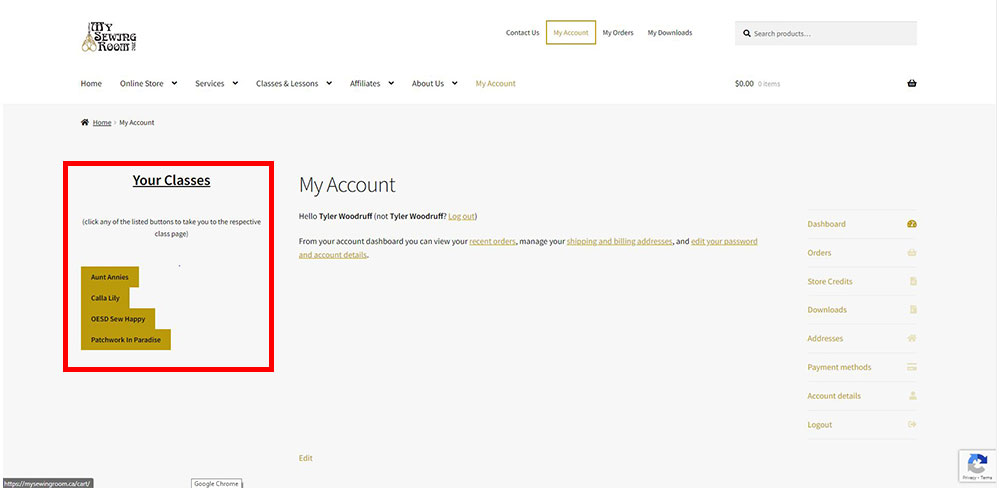
after clicking the link you have arrived at the class page and can browse for whatever you need. Below you can see and example of the same page but in one case the user has signed in and is authorized to view the class and the other is not signed in or is not authorized.
Previous users of our site may notice that there was no page asking for a password or to sign in to view the page itself. This is correct, you will no longer need a password for each class or class page. You only need to login to your account and your account itself is what authorizes you to view the class content. Our hope is that this will simplify finding your classes, no longer require you to keep email for classes you have purchased, and assist with making the whole process less difficult.
↓Signed in and authorized↓
↓Not Signed in or not authorized↓
Mobile Instructions
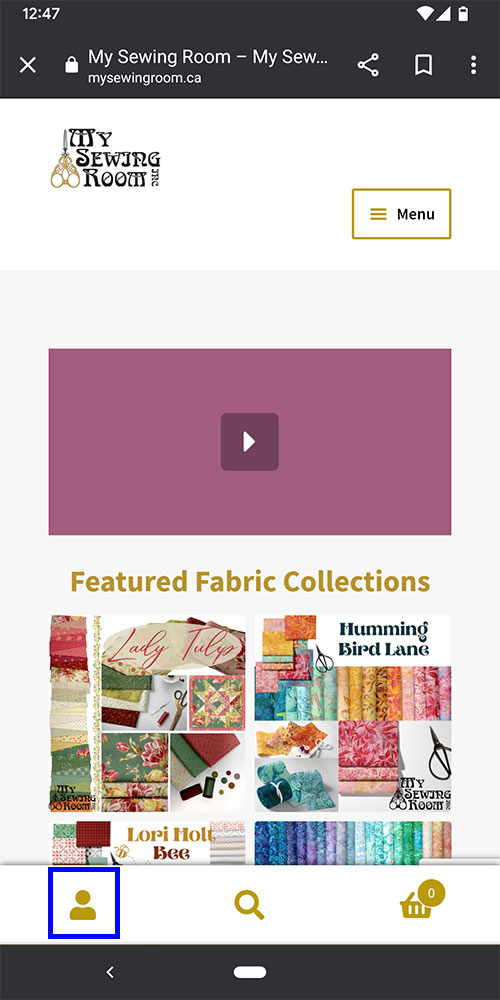
If you are viewing on a phone tablet or smaller device you may have a different view of the website. The steps are the same but this should be what the steps would look like on a smaller screen
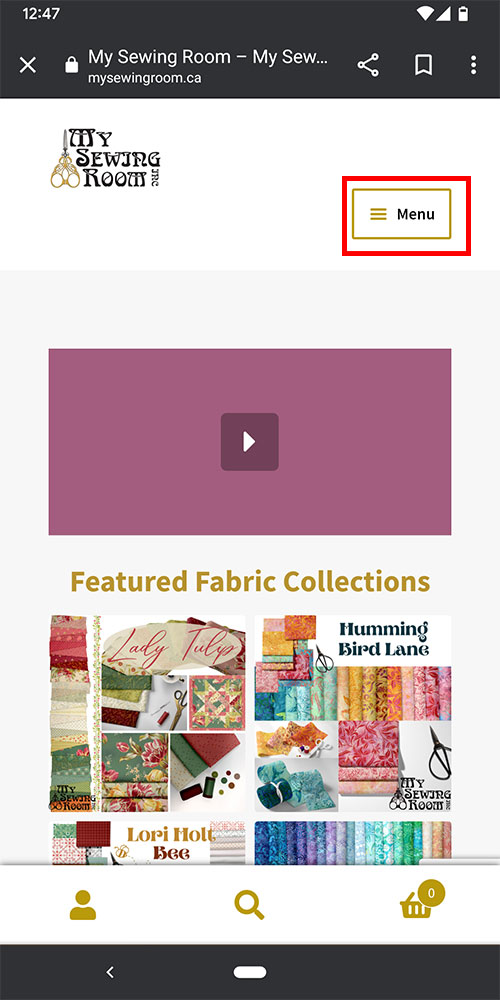
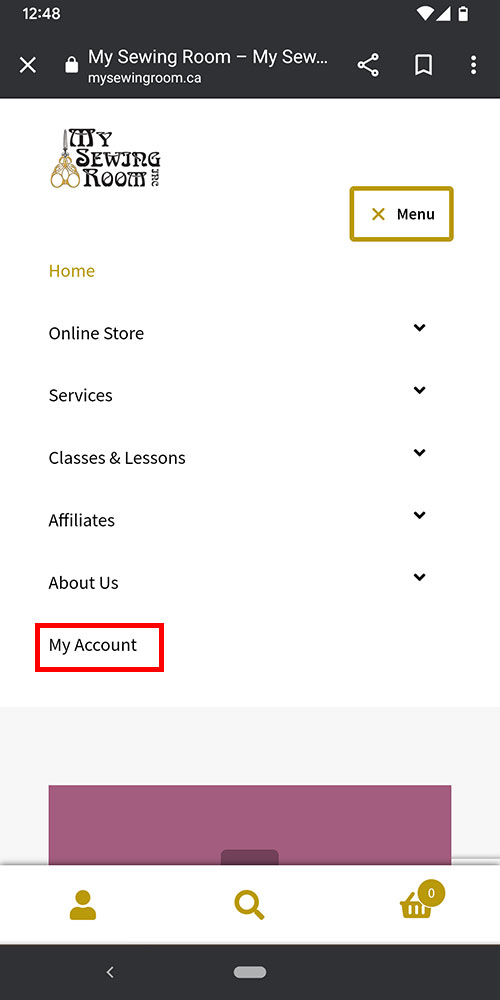
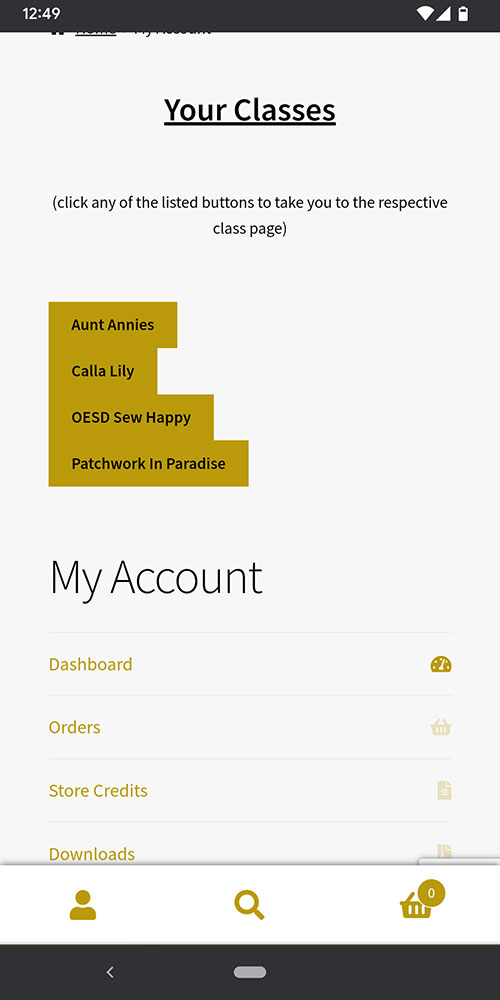
This is the homepage view on a mobile screen. To go to the My Account Dashboard you can either click the person icon (outlined in Blue) OR open the menu (outlined in red) and click My Account
↓Access My Account through person icon↓
↓Access My Account through menu↓
↓Then clicking My Account↓
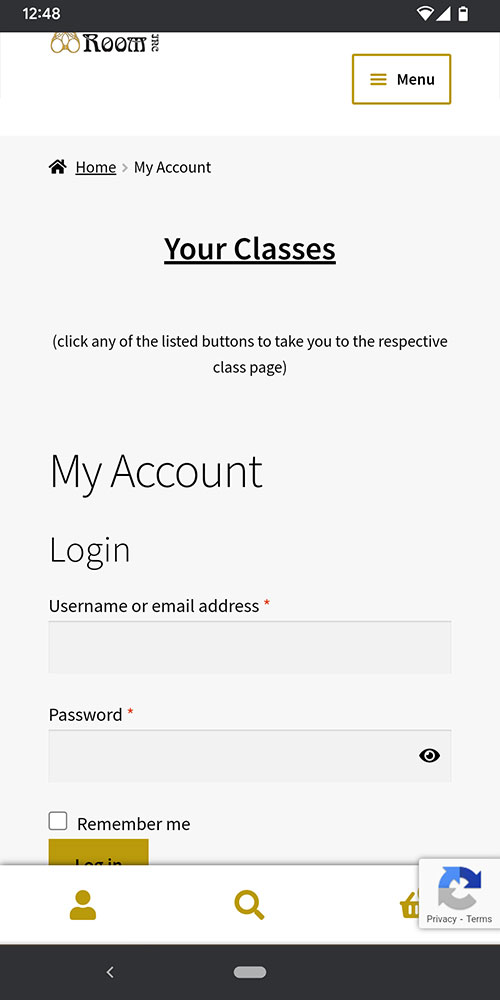
Either way will take you to the login screen if you are not signed in or the dashboard if you are signed in
After signing in you can see the dashboard like this. There you can see Your Classes above your account links. click one of the class buttons and you will be taken to the class page
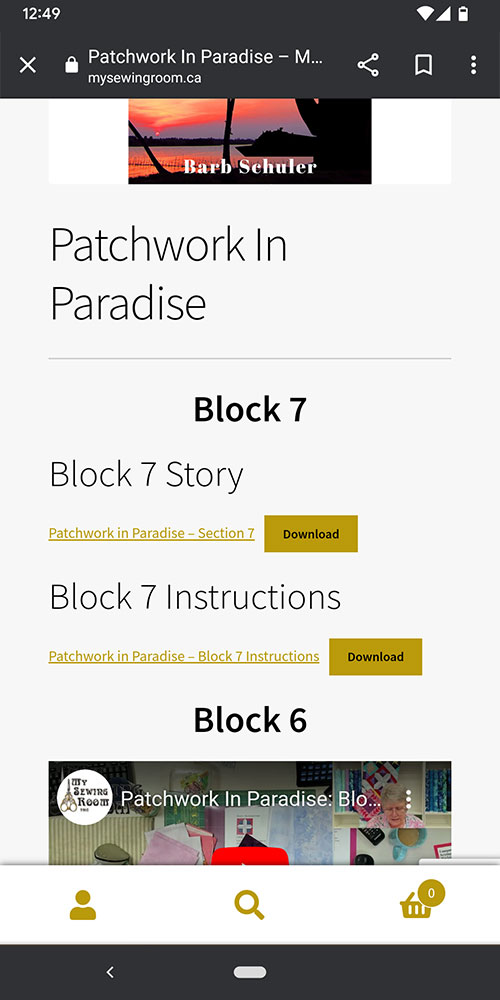
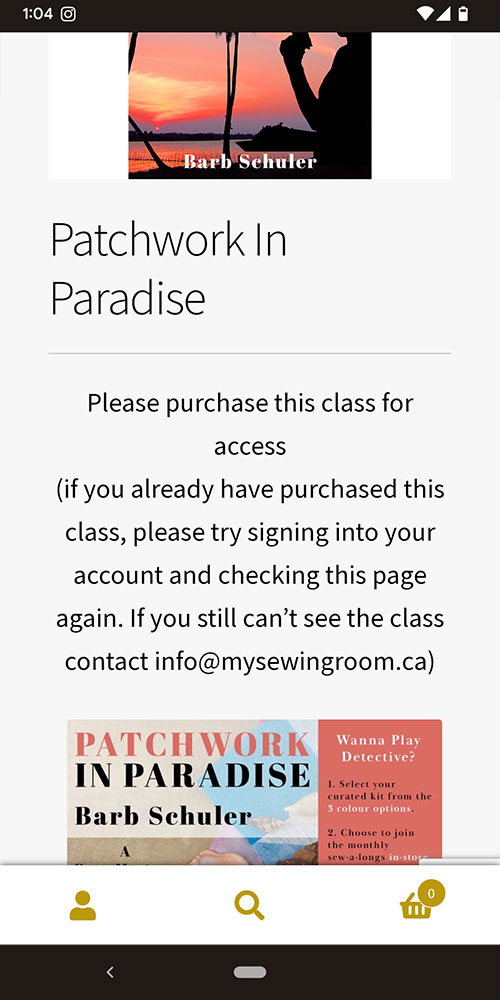
This is an example of what the class page would look like if you are signed in and authorized vs not signed in or not authorized
↓Signed in and authorized↓
↓Not signed in or authorized↓
if you have any feedback about this method of accessing your classes please reach out to feedback@mysewingroom.ca and let us know what you like or don’t like about it. Thanks
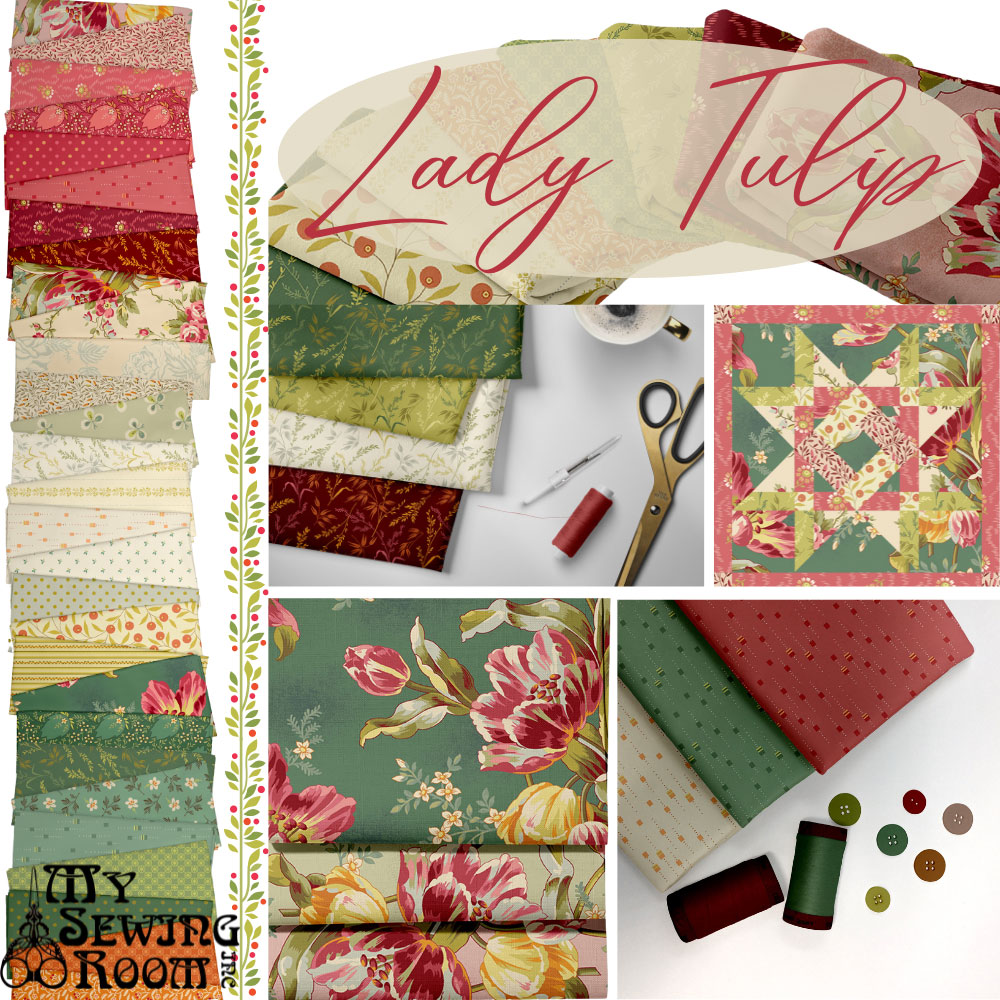
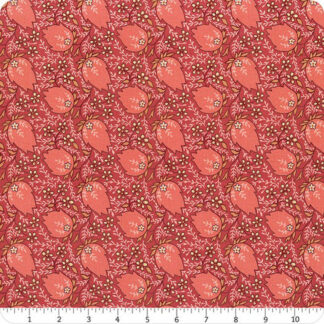
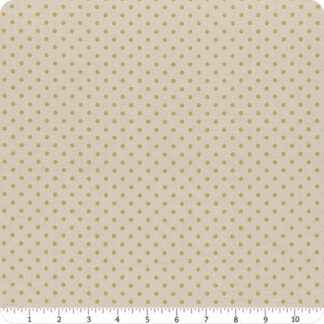
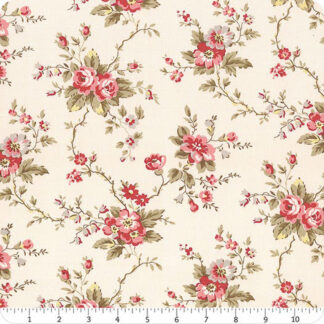
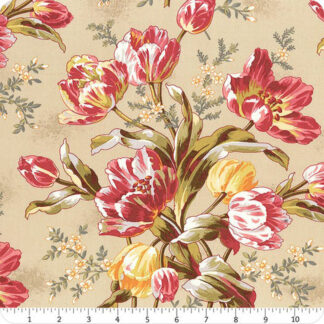
Lady Tulip – 100% Cotton. Laundry Basket Quilts is back again with a few more delightful florals accompanied by Edyta’s timeless blend of smooth hues and classy designs. Lady Tulip, true to name, is full of tulips, tossed daisies, other flowers, adorning foliage, stripes and wide arrangements of petite dots. Pair these prints with the corresponding Century Solids from Andover Fabrics to create some classic projects.
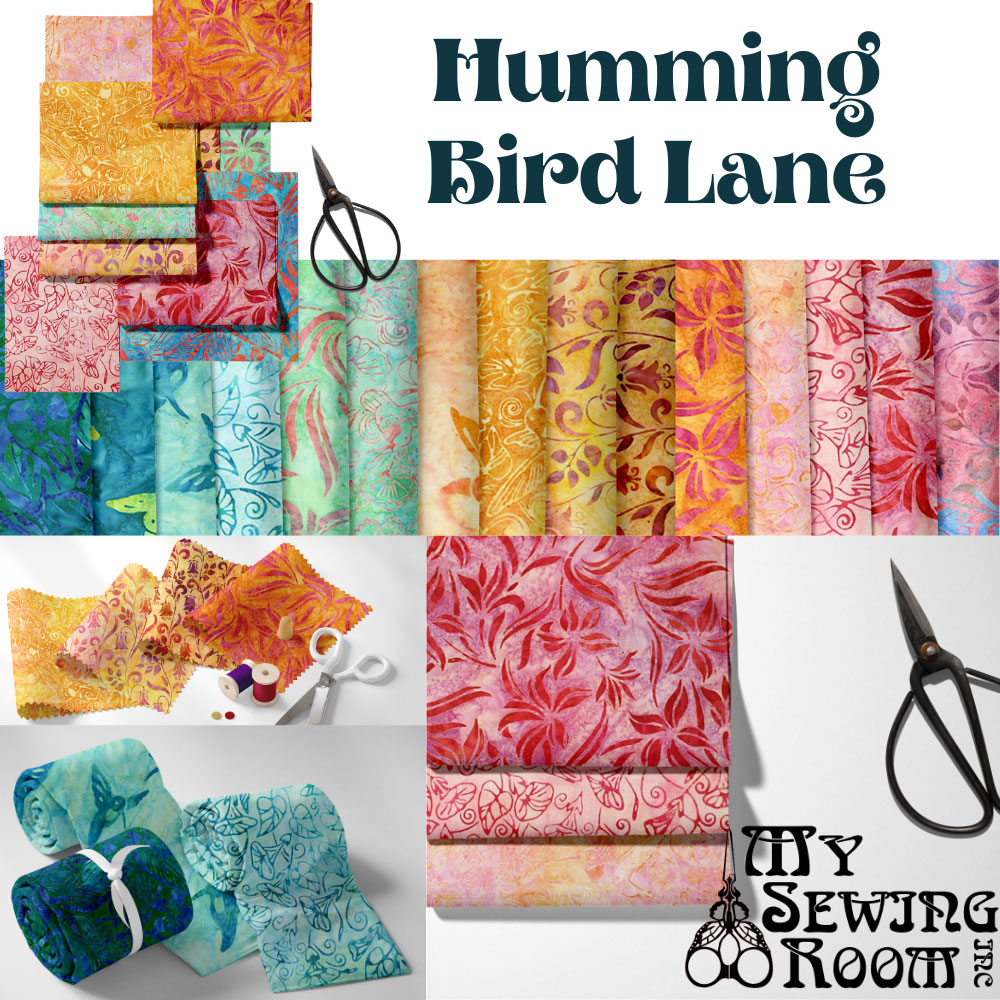
100% Cotton Batik. Hummingbird Lane. The Hummingbird Lane collection featuring hummingbird and butterfly themed designs in soft to mid-tone spring pastels. From Artisan Batiks for Robert Kaufman. 115cm wide.
100% Cotton Batik. Make a splash with Seaside Artisan Batiks, a hand-dyed batik collection from Robert Kaufman Fabrics. Peek into tide pools for sand dollars and starfish, then dive into the rest of Lunn Studios’ vibrant prints featuring swirling ocean currents, bubbles, kelp beds, sea turtles and so much more in vivid blue, green, purple and pink prints.
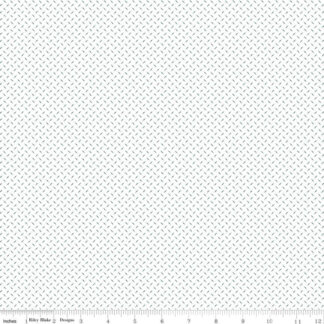
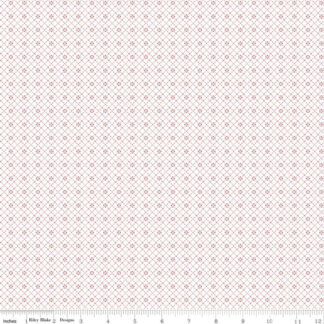
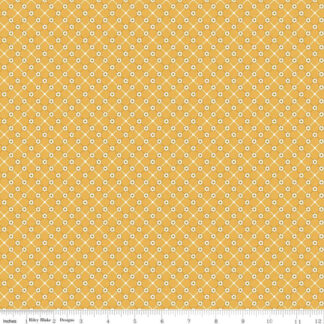
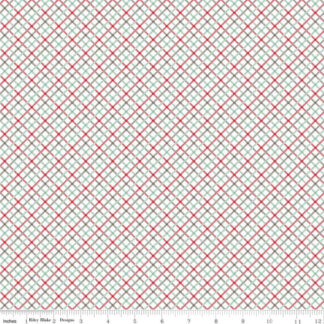
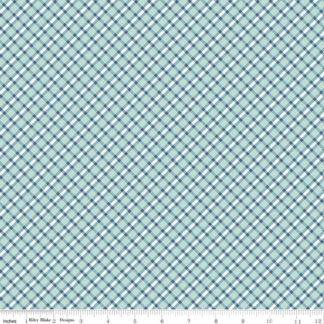
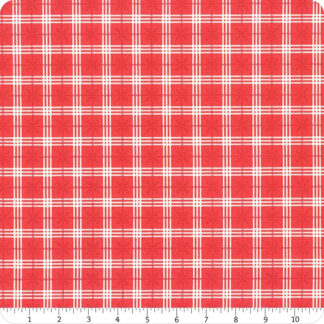
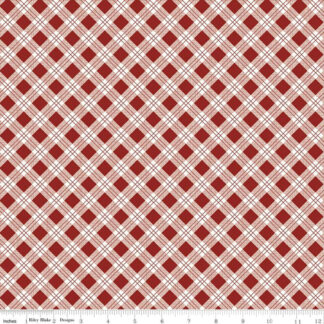
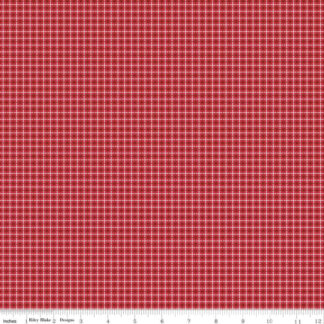
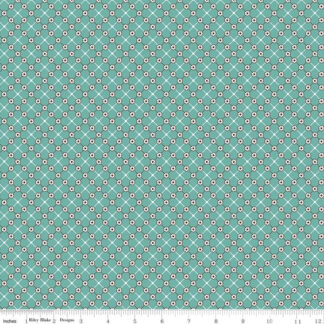
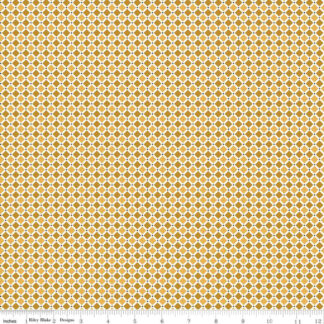
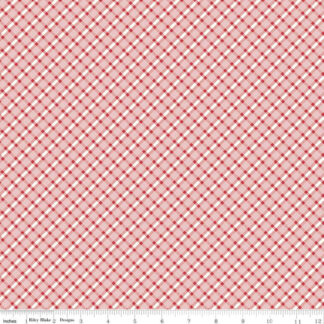
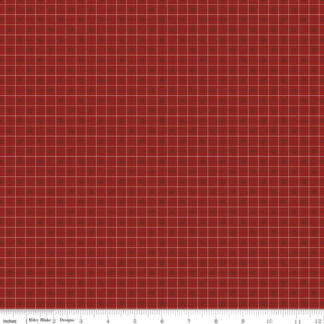
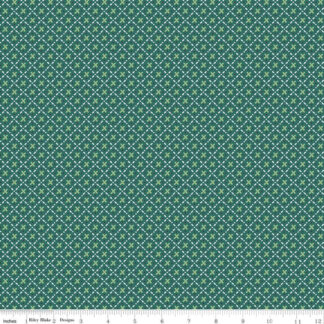
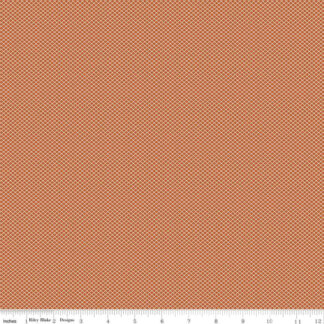
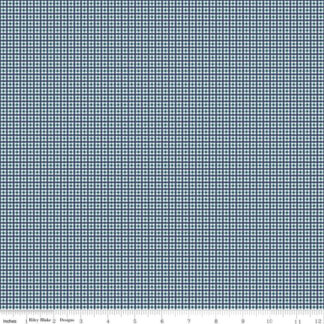
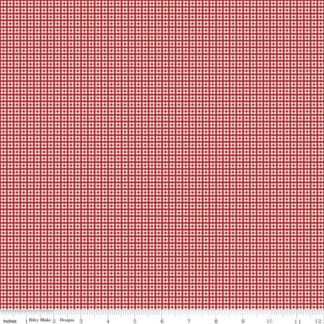
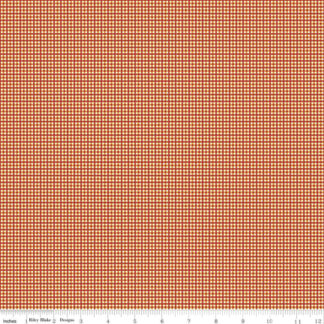
100% Cotton Bee Plaids by Lori Holt of Bee in my Bonnet for Riley Blake Designs is a collection of various plaid and geometrical patterned prints that are perfect for quilting, apparel and home décor.
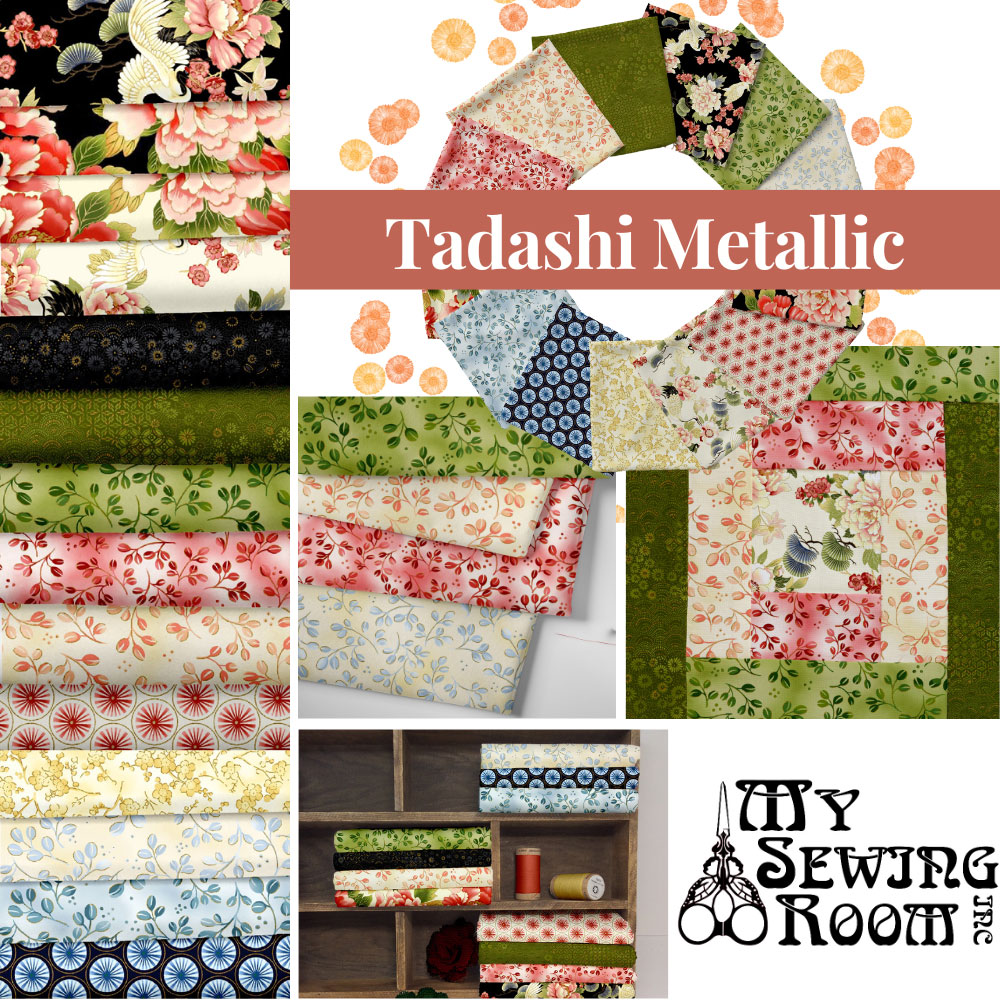
100% Cotton Gorgeous artwork and a stunning color palette join together to create this beautiful, Asian-styled fabric collection! These exquisite prints are accented with fine etching in a gold metallic pigment to further enhance the designs. Project inspiration will overflow with ideas to make bags of all sorts, skirts and décor accents! Wendy Sheppard has designed two complimentary patterns – a dark and rich panel quilt to use on sofa or wall. Plus, a light & airy quilt featuring fun lantern blocks!
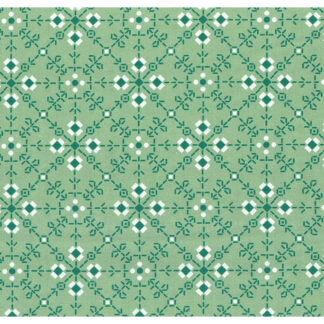
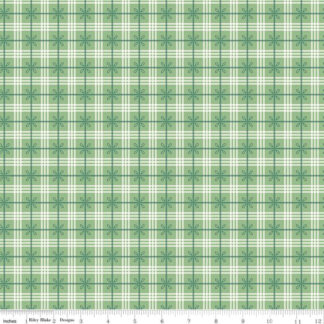
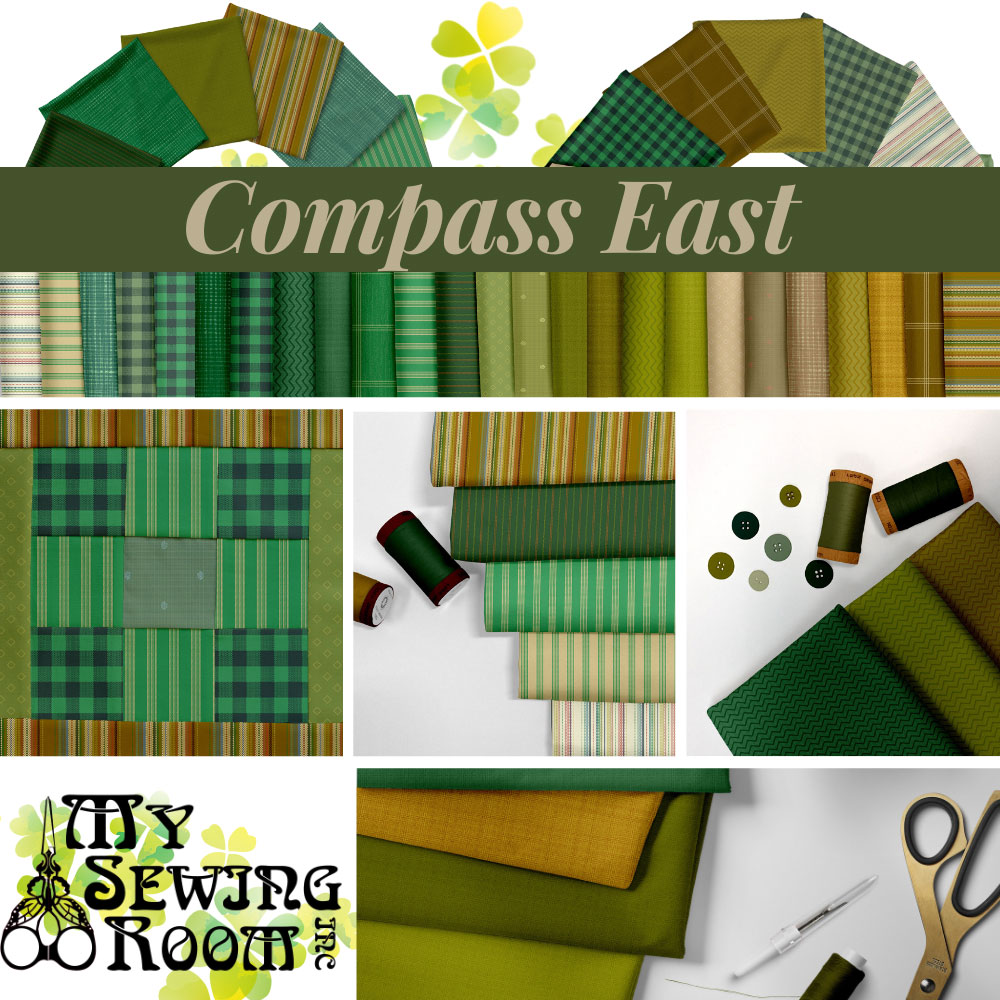
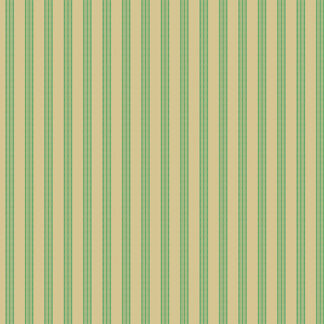
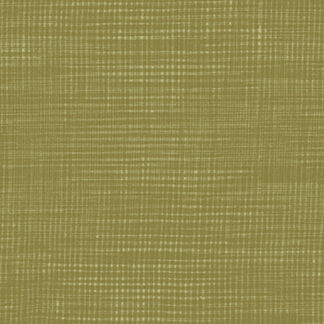
100% Cotton. Compass East – Amelia – Uniform. Comforting to the eye, Compass, a wide collection of woven fabrics, combines simple designs like stripes and checks with a subtle color palette. This assembly by Laundry Basket Quilts is perfect for modern and traditional styles! Pair these prints with the corresponding Century Solids from Andover Fabrics to create some compelling projects.
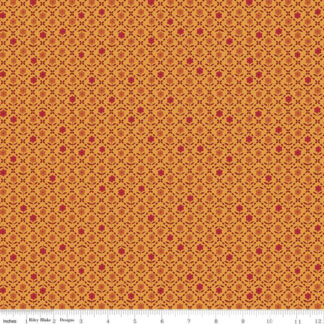
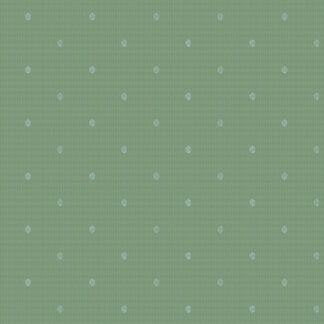
 Mindscape – Wonder Wall – MDS53902 – Coast – AGF$23.99 per Meter
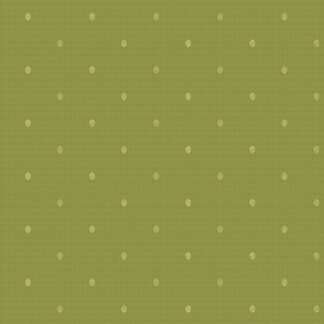
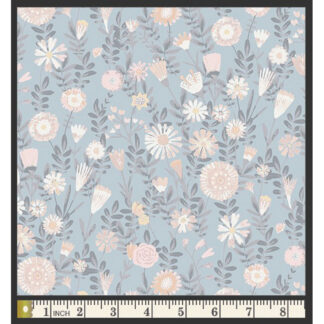 Mindscape – Tenderness – MDS63908 – Serene – AGF$23.99 per Meter
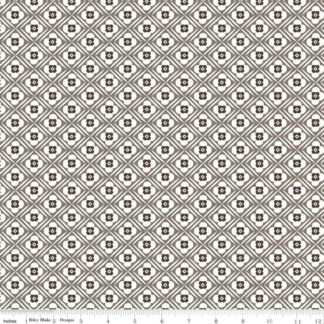
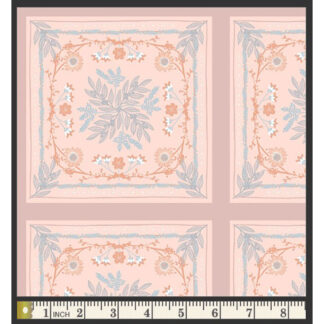 Mindscape – Seaside Tiles – MDS63903 – Blush – AGF$23.99 per Meter
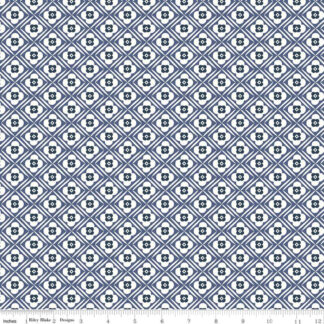
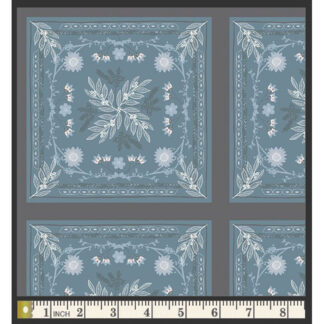 Mindscape – Seaside Tiles – MDS53903 – Navy – AGF$23.99 per Meter
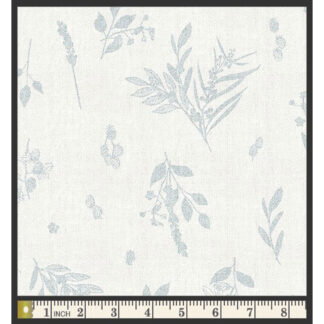 Mindscape – Scenescape – MDS63906 – Sky – AGF$23.99 per Meter
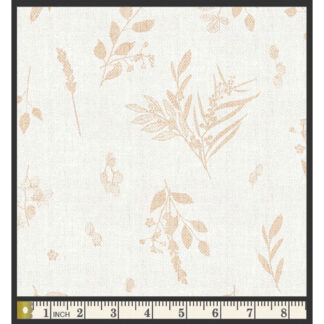 Mindscape – Scenescape – MDS53906 – Sand – AGF$23.99 per Meter
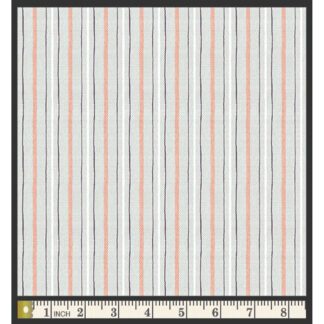 Mindscape – High Tide – MDS63910 – Day – AGF$23.99 per Meter
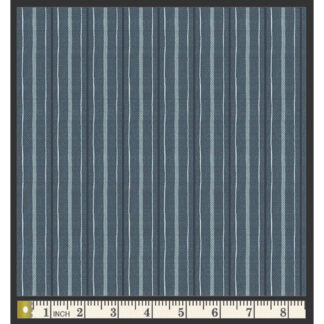 Mindscape – High Tide – MDS53910 – Night – AGF$23.99 per Meter
 Mindscape – Foraging Fauna – MDS53907 – Navy – AGF$23.99 per Meter
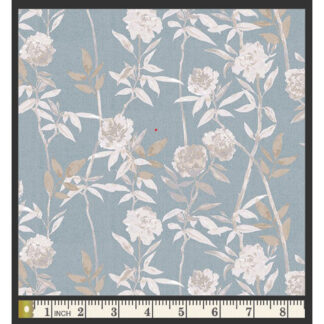 Mindscape – Coastal Carnations – MDS53900 – Lt Blue – AGF$23.99 per Meter
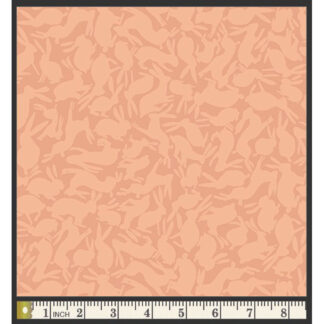 Mindscape – Abundance – MDS63909 – Nectar – AGF$23.99 per Meter
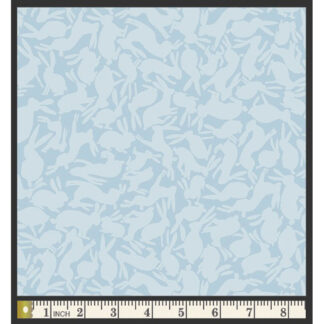 Mindscape – Abundance – MDS53909 – Cloud – AGF$23.99 per Meter